

Apple Pay is now available in the Philippines: Here’s how to use it
Good news for Apple users: Apple Pay is finally available in the Philippines!
The feature allows users to securely make purchases in stores, online, and within supported apps using their Apple devices.
Not sure where to begin? Here's a guide to setting up Apple Pay and using it for your everyday transactions:
Setting up Apple Pay
To set up the service on your iPhone, you must open the Wallet app and tap the "+" sign to add your debit or credit card. You can either tap "Cards Found For You" to add a card that you used previously or tap "Debit or Credit Card" to add a new one.
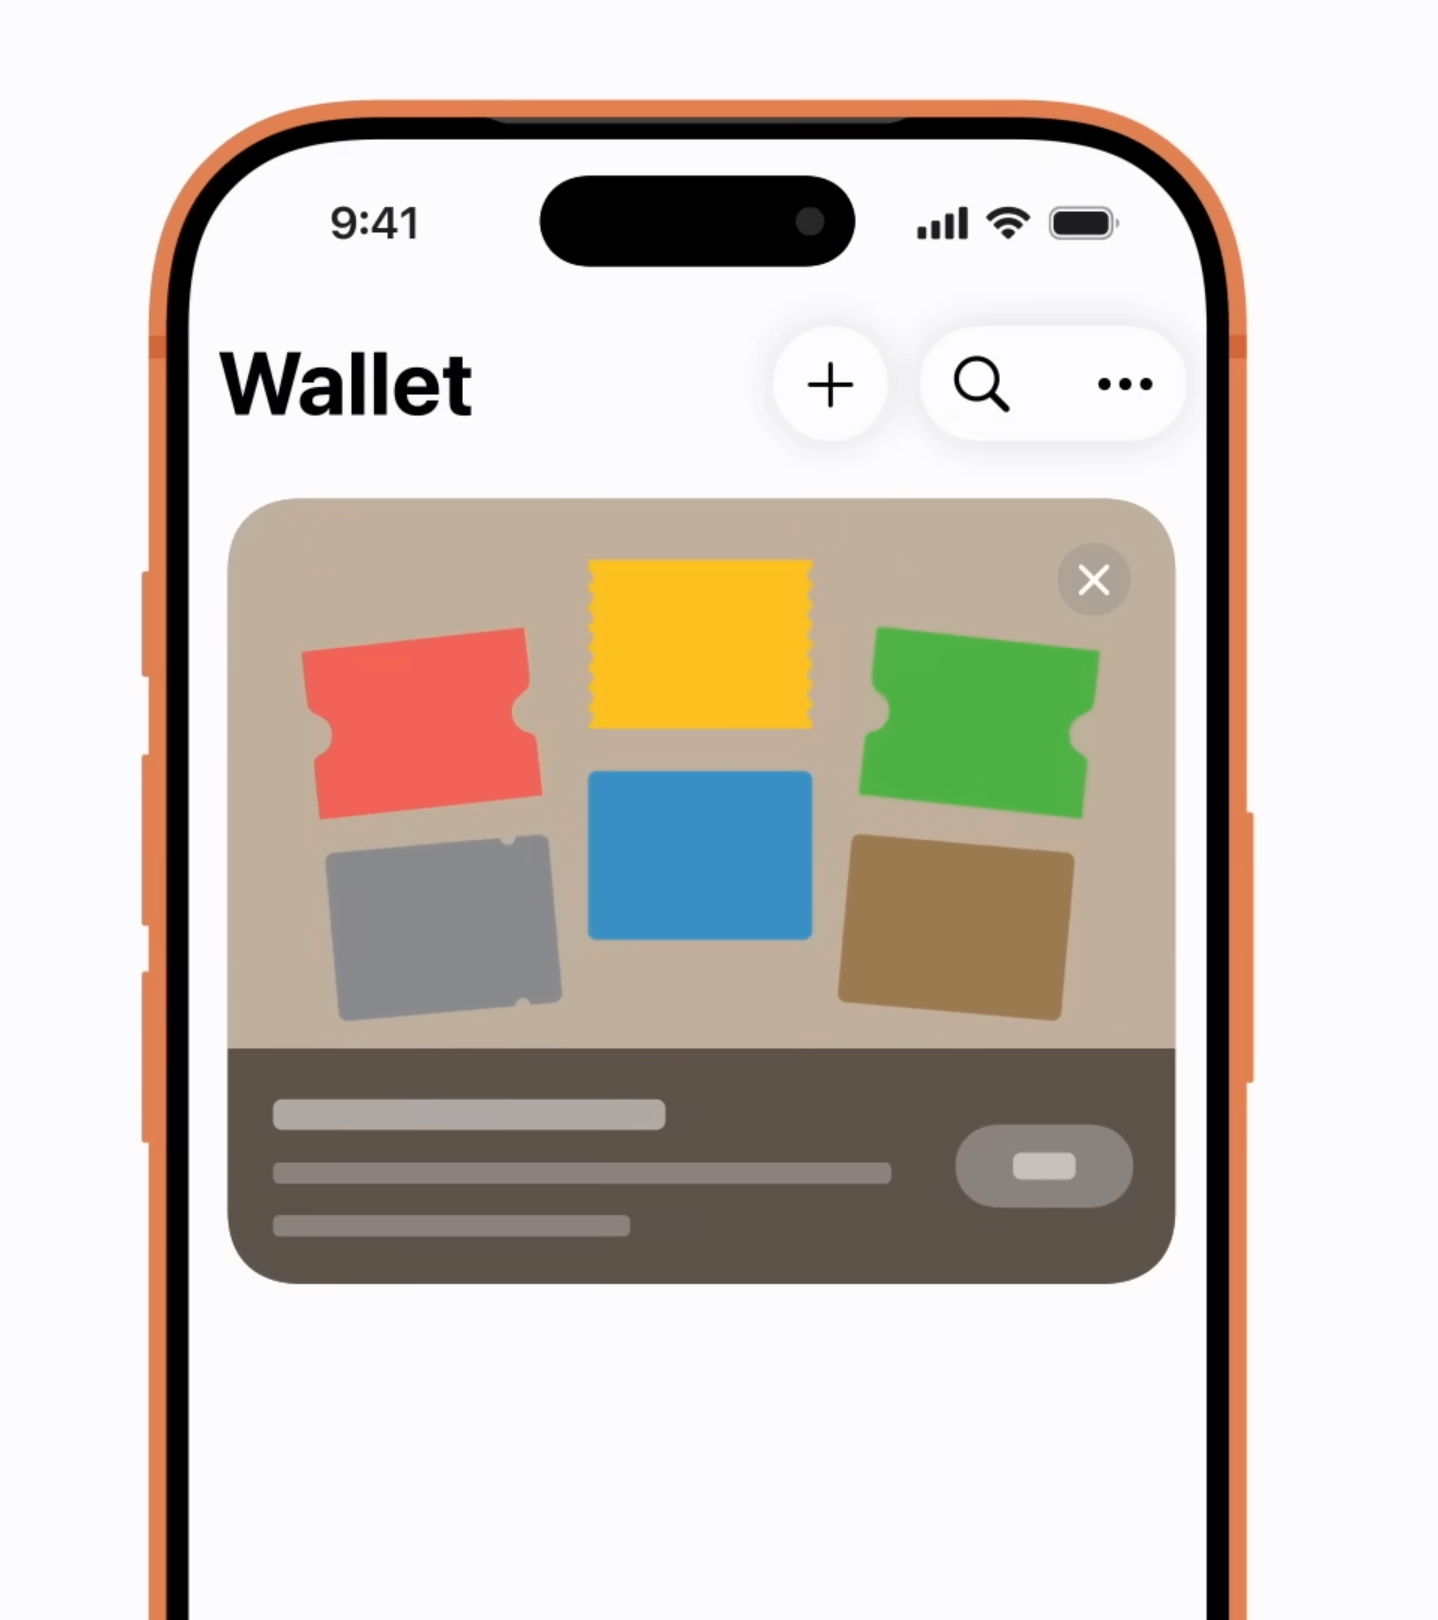

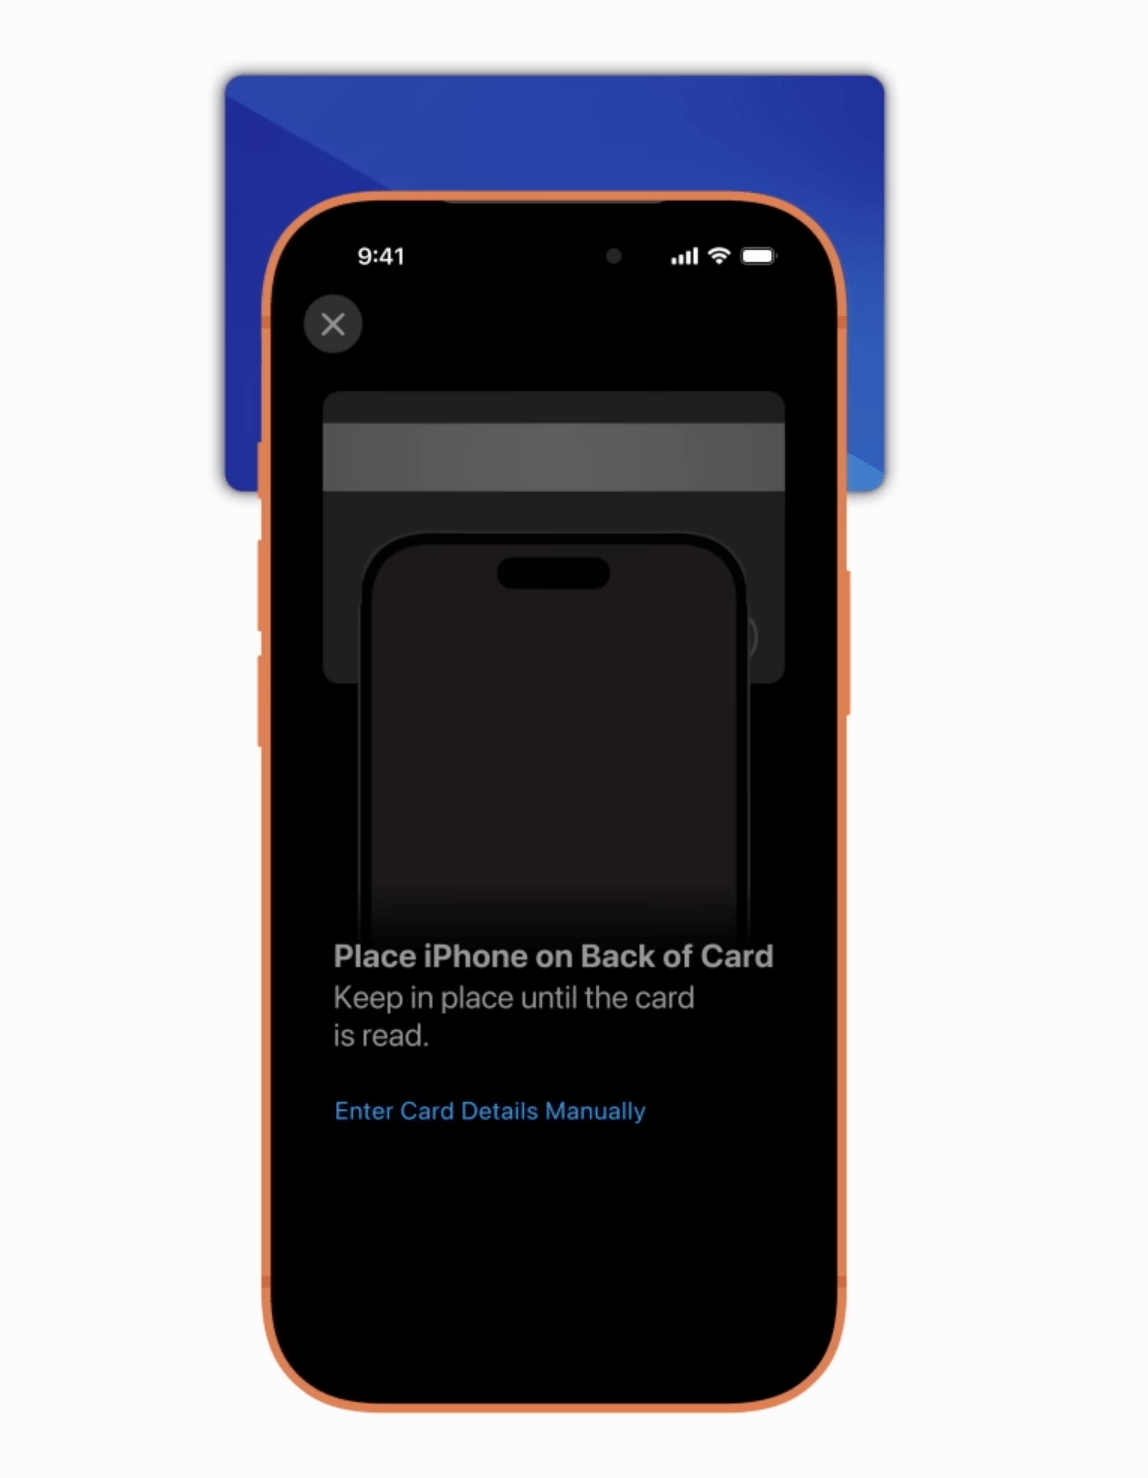
Once you continue, tap or hold your card close to your iPhone to add it. You can also manually enter your card details if the card cannot be detected automatically.
Apple Watch users can meanwhile add their card to their smartwatch through the Apple Watch app on their paired iPhone.
Open the app, head to the "My Watch" tab, and select "Wallet & Apple Pay" before tapping "Add Card."
From there, choose either "Cards Found For You" to use a previously added card or "Debit or Credit Card" to register a new one. Follow the prompts to tap your card against your iPhone, scan it using the camera, or manually enter your card details if needed.
For other devices such as Mac, iPad, or Apple Vision Pro, you can add a card by opening the "Wallet & Apple Pay" settings on your device.
On a Mac with Touch ID, head to System Settings (or System Preferences) and click Wallet & Apple Pay. Meanwhile, iPad users can go to Settings and tap Wallet & Apple Pay.
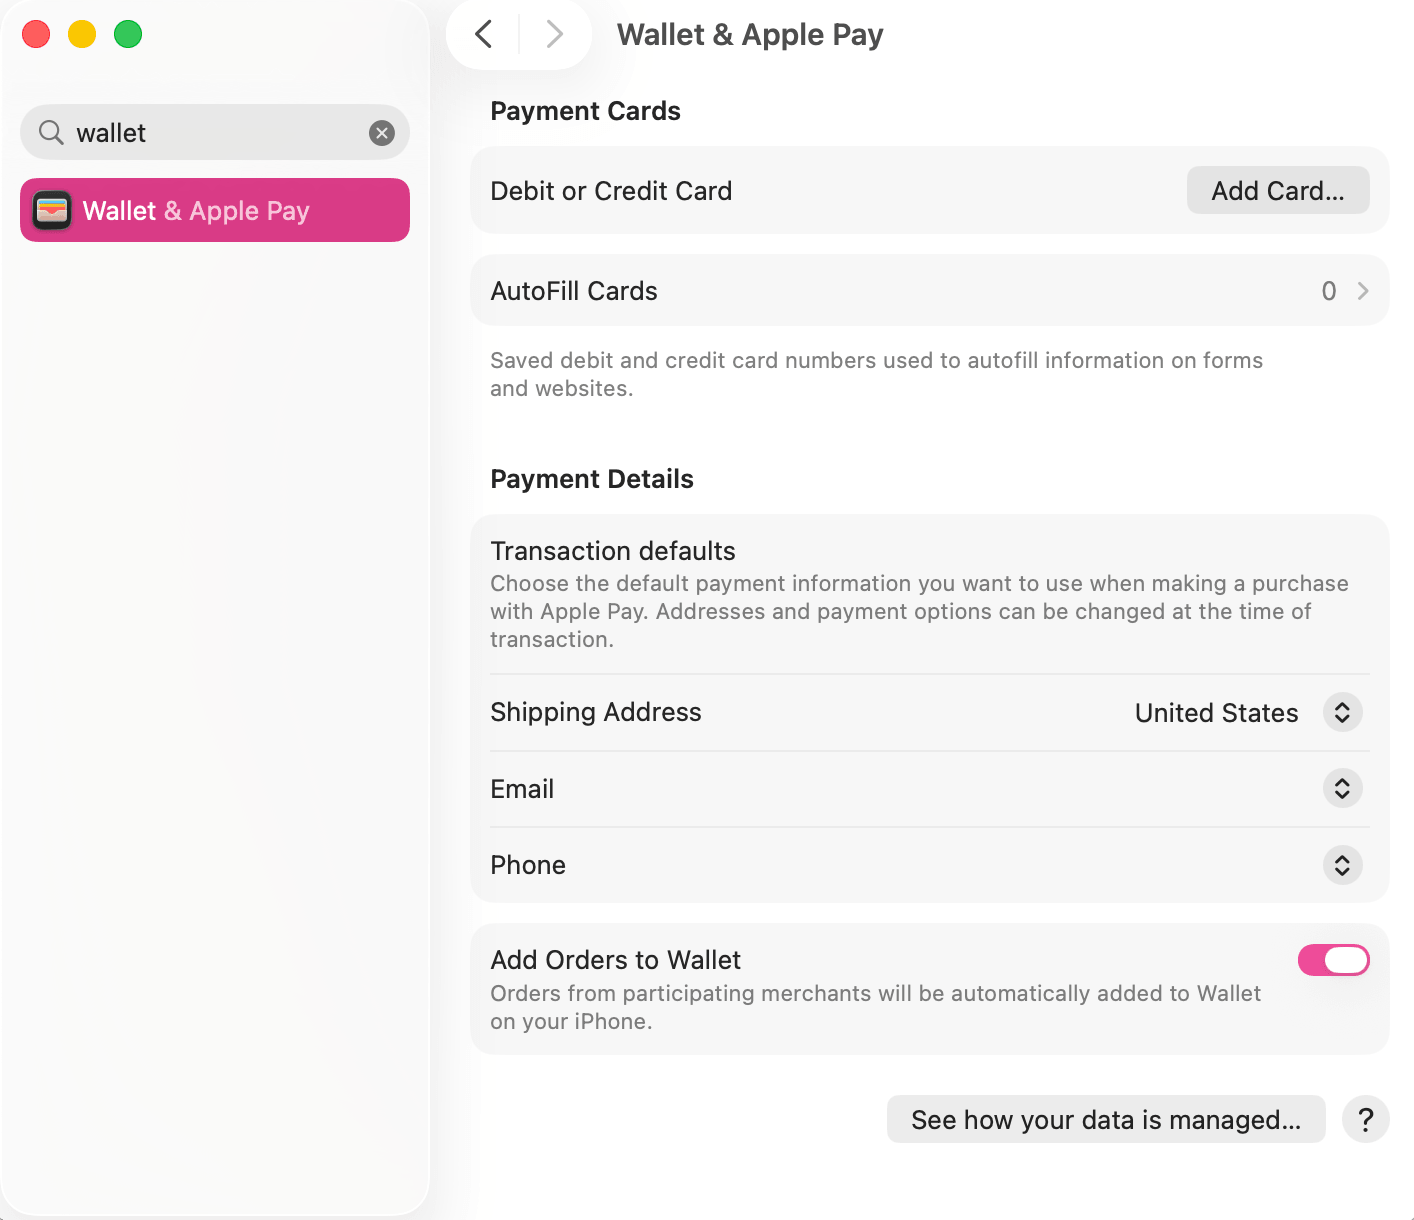
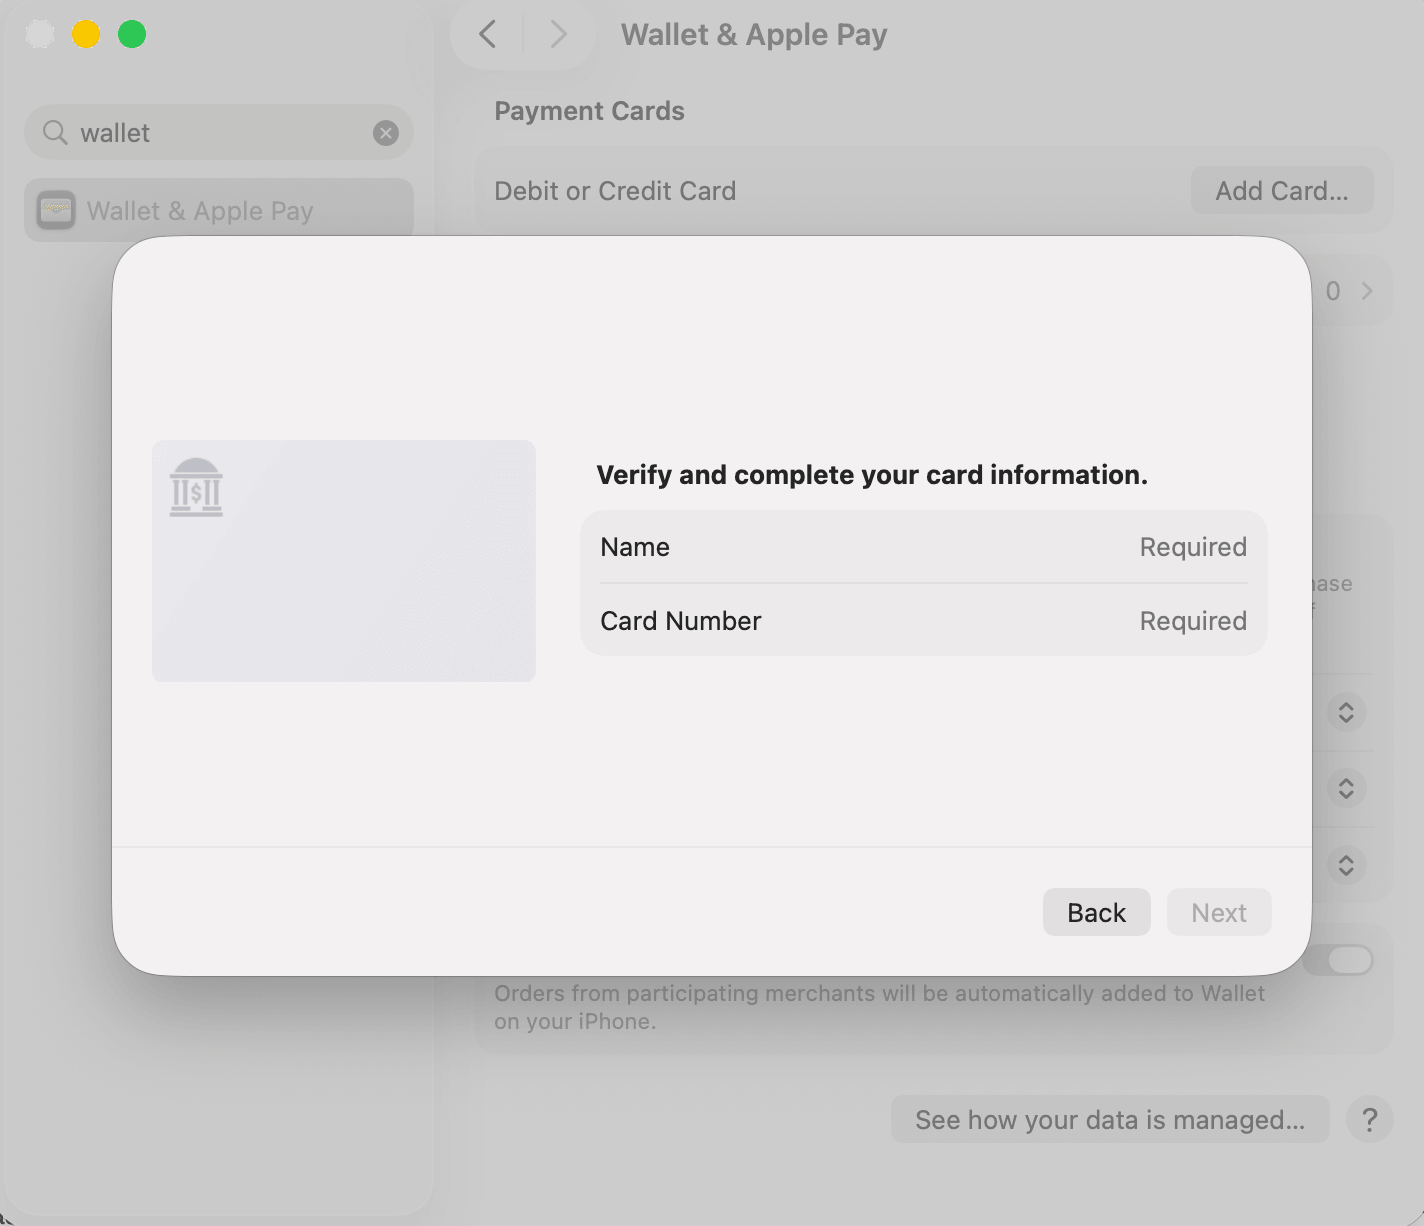
From there, select Add Card and follow the on-screen instructions to register your debit or credit card.
If you're using a Mac without built-in Touch ID, you can still make Apple Pay purchases by authorizing them with a compatible iPhone or Apple Watch. Simply enable "Allow Payments" on your Mac by going to Wallet & Apple Pay on your iPhone, then turn on the feature to complete purchases using your paired device.
What to do if you can't add a card
If you are unable to add a card to the Wallet app, there are still some steps you can take to resolve this.
First, you must make sure your bank or card issuer supports Apple Pay in the first place and that your device is running the latest version of iOS, iPadOS, watchOS, macOS, or visionOS.
You should also confirm that Face ID, Touch ID, Optic ID, or a device passcode has been set up, as these security features are required to use the service.
Next, verify that you are using a compatible Apple device and have two-factor authentication enabled for your Apple Account. It's also worth checking for any service outages or internet connection issues that may be preventing your card from being added.
If you receive error messages such as "Could Not Add Card," "Invalid Card," or "Card Device Limit," Apple advises contacting your bank or card issuer directly, as they do not approve or decline cards for Apple Pay.
It is confirmed that Visa debit and credit cardholders are eligible to use the service. Currently, the banks that support Apple Pay include GoTyme Bank, UnionBank, Metrobank, and China Bank.
Make purchases using Apple Pay
Once you've successfully set up the service on your device, you can now use it to pay in stores, restaurants, or other establishments where you can see the Apple Pay symbols.
To pay using your iPhone, double-click the side button if your device uses Face ID, then authenticate with Face ID or your passcode to open Apple Wallet. For iPhones with Touch ID, simply double-click the Home button.
You must then hold the top of your device near the contactless reader. Once the payment goes through, a checkmark and the word “Done” will appear on your screen.
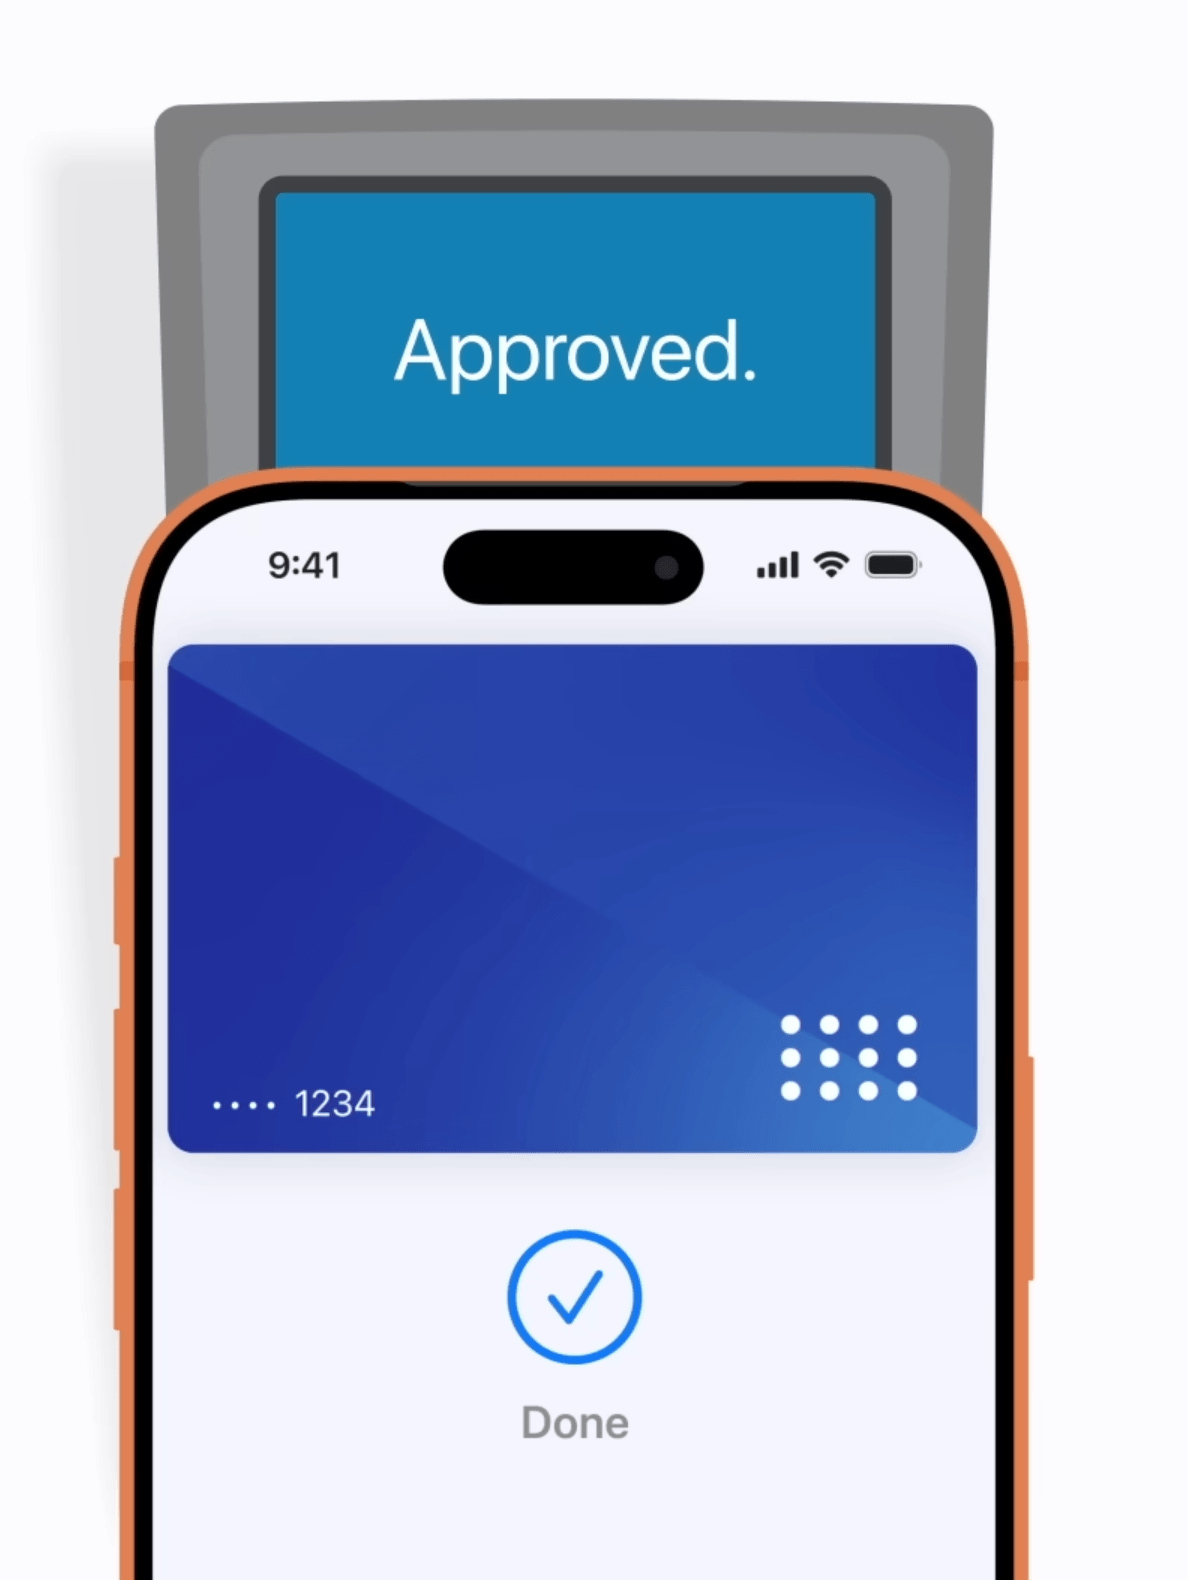
For Apple Watch users, double-click the side button to open your default card. A gentle tap and beep will confirm that your payment has been completed.
Apple Pay also works for online shopping and in-app purchases wherever the payment option is available. At checkout, select Apple Pay, review your payment details, and confirm the transaction using your device’s security feature—whether that’s Face ID, Touch ID, Optic ID, a passcode, or your Apple Watch.
If you're worried about security and privacy issues that may take place while using Apple Pay, fret not, as your actual card numbers are not stored on the device or on Apple servers.
Instead, you are assigned a unique Device Account Number that is encrypted and securely stored in the Secure Element, which is an industry-standard, certified chip designed to store the payment information safely on the device.

WATCH: Can you still trust someone who betrayed you? (Generations Ep. 22)
September 23, 2026